The full guide
Read straight through, or use the fishing notes above to keep marks, tides and tackle easier to follow.
For most sea fishing you need just a handful of knots: an improved clinch or a uni knot for tying monofilament to hooks and swivels, a palomar for braid, a double uni for joining two lines, a shock leader knot for beach casting, and a dropper loop for making your own rigs. Learn those well and you can cover everything from mackerel feathers on a pier to a pulley rig on a storm beach. Below we explain when to use each one and how to tie it step by step, then cover the difference between braid and mono, how to wet and seat a knot properly, how to test it, and the mistakes that lose most fish.
Useful starter kit
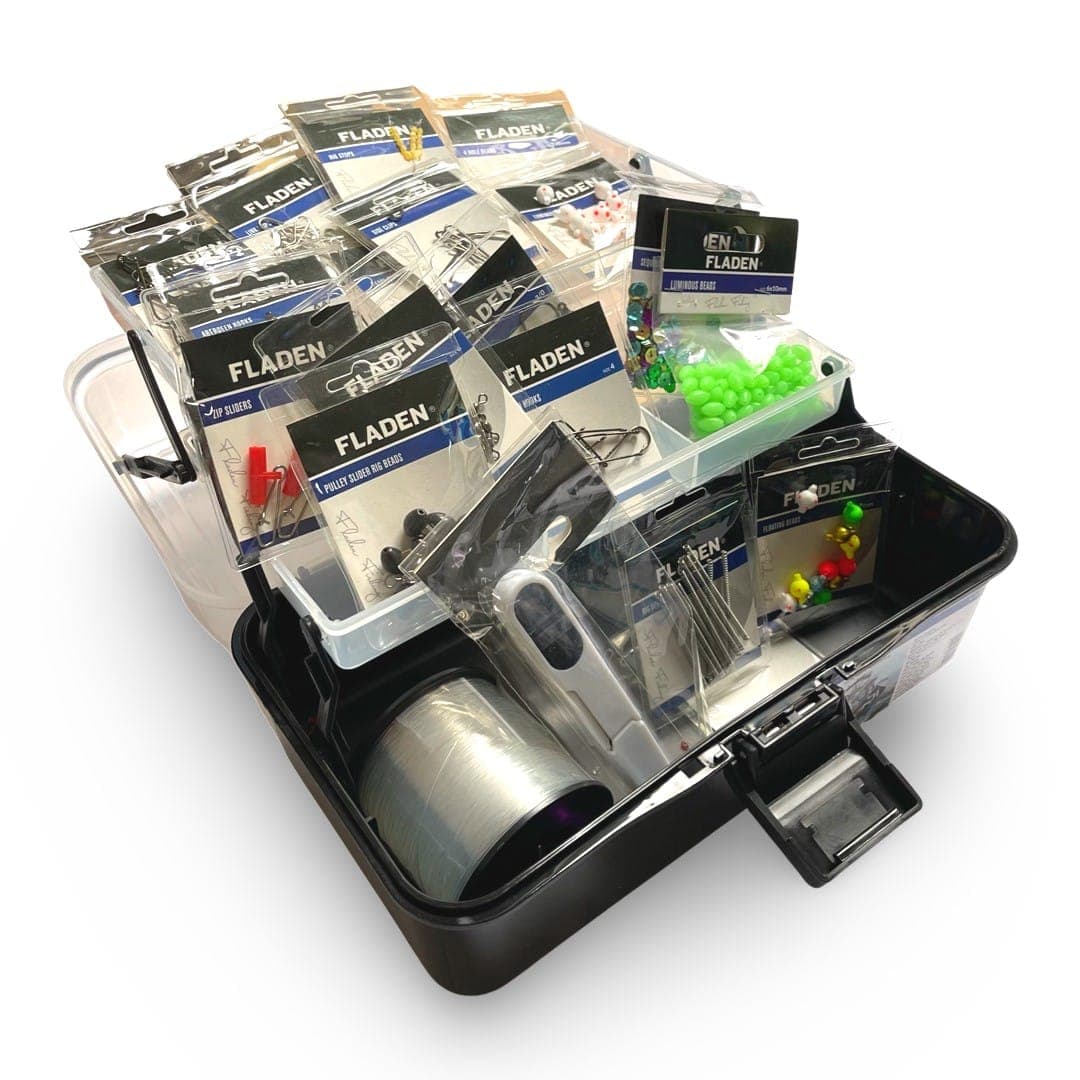
Friendly tackle picks chosen to make the guide easier to put into practice.
Which fishing knots do you need for sea fishing?
Think about the jobs a knot has to do. You need to tie line to something with an eye, such as a hook, swivel, clip or lure. You need to join two lines together, for example a shock leader to your main line or a mono leader to braid. And if you make your own rigs, you need a way to put a loop in the middle of a line for a hook snood.
The improved clinch, uni and palomar handle the first job. The double uni and the shock leader knot handle the second. The dropper loop handles the third. That is six knots, and plenty of experienced anglers use fewer. If you are new to rigs, our guide to sea fishing rigs for beginners shows where each knot sits, and our fishing jargon buster explains terms like snood, tag end and standing line.
Two terms you will see below: the tag end is the short loose end you tie with, and the standing line is the long part running back to the reel.
How to tie the improved clinch knot
The improved clinch is the classic knot for tying monofilament to a hook, swivel or lure. It is quick and, tied carefully, very strong in mono.
Step 1: pass about 15cm (6 inches) of line through the eye of the hook or swivel.
Step 2: wrap the tag end around the standing line five times, keeping the turns in a neat spiral. With heavier mono, four turns is enough.
Step 3: bring the tag end back and pass it through the small loop that has formed just above the eye.
Step 4: now the tuck that makes it improved. Pass the tag end through the big loop you have just made, so it runs back under itself.
Step 5: wet the knot, hold the tag end lightly and pull steadily on the standing line until the turns slide down and bed neatly against the eye. Trim the tag, leaving 2 to 3mm.
Why the tuck matters: the plain clinch relies only on the friction of the turns, and under a hard pull it can slip. The extra tuck locks the end in place. The improved clinch is not recommended for line over about 30lb, because the turns are hard to pull down neatly in thick line. It is also a poor choice for braid, which is slippery enough for the knot to pull out. Use a palomar or uni instead.
How to tie a palomar knot
The palomar is one of the strongest and simplest knots for tying to a hook or lure, and it is the one to use with braid.
Step 1: double about 15 to 20cm of line to form a loop, and push the end of the loop through the eye of the hook.
Step 2: with the doubled line, tie a loose overhand knot, as if you were starting to tie your shoelaces, leaving the hook hanging in the loop.
Step 3: pass the hook, or the whole lure, through the end of the loop.
Step 4: wet the knot and pull on both the standing line and the tag end together so the knot closes up above the eye. Trim the tag.
Its weakness is step 3. The loop has to be big enough to pass the whole lure or rig through it, which is fiddly with long lures or multi-hook traces. For a single hook, swivel or clip it is hard to beat.
How to tie the uni knot
The uni knot works with both mono and braid, and you can use the same basic knot for joining lines, so it is well worth learning.
Step 1: pass about 20cm of line through the eye and lay the tag end back alongside the standing line.
Step 2: bring the tag end back towards the eye to form a loop lying over the two lines.
Step 3: working inside the loop, wrap the tag end around both lines five times. With braid, use seven or eight wraps.
Step 4: wet the knot and pull the tag end to snug the wraps into a tight barrel.
Step 5: pull on the standing line to slide the knot down to the eye, then pull firmly to seat it. Trim the tag.
If you stop before step 5 and leave a gap, you have a loop knot, which lets a lure move more freely.
How to join two lines with a double uni knot
The double uni, also called the uni to uni or double grinner, joins two lines of different diameter or type, such as a braid main line to a mono or fluorocarbon leader.
Step 1: overlap the two ends side by side by about 20 to 25cm, pointing in opposite directions.
Step 2: take the end of one line, form a loop back over both lines and tie a uni knot around the other line, exactly as above. Tighten it, but do not slide it yet.
Step 3: repeat with the other line, tying a second uni knot around the first.
Step 4: use more wraps in the thinner, slippier line. A common starting point is eight wraps in braid and five in mono. Too few wraps in braid is the most common reason this knot slips.
Step 5: wet both knots, then pull the two standing lines apart so the knots slide together and butt up against each other. Pull hard, then trim both tags closely so they do not catch in the rod rings.
For mono shock leaders on heavy casting gear, many beach anglers prefer the dedicated shock leader knot below, because it is smaller and passes through the rings more easily.
Why do you need a shock leader, and how strong should it be?
When you cast a heavy lead from a beachcaster, the force on the line in the moment of the cast is far greater than anything a fish will do. Your main line, often 15lb mono, is thin enough to cast a long way but not strong enough to take that load. If it snaps mid-cast, the lead and rig fly off at speed. That is called a crack-off, and a 5oz lead travelling that fast can seriously injure someone further down the beach.
A shock leader is a length of much stronger line tied to the end of the main line to take that strain. The well-known rule of thumb is 10lb of breaking strain for every ounce of lead you cast. So a 5oz lead needs a 50lb leader, and a 6oz lead at least 60lb. For powerful pendulum casting many anglers add another 10lb as a safety margin. As a general guide, use a leader whenever you cast more than 3 to 4oz on main line under 30lb.
Make the leader long enough that, with the lead hanging at your normal drop below the rod tip, the knot sits on the reel with several turns of leader on the spool, which most beach anglers set at six to eight. The leader then takes the strain as the rod loads. Our guide to fishing from a beach covers casting weights, and which sea fishing reel covers line capacity.
How to tie a shock leader knot
This is the standard knot for joining a mono main line to a heavy mono leader.
Step 1: tie a simple overhand knot in the end of the leader, leaving a tag of at least 15cm. Do not tighten it yet.
Step 2: pass the end of the main line through the overhand knot, entering from the tag end side, so it runs alongside the leader's tag. Pull through at least 20cm.
Step 3: wet the overhand knot and pull it tight on the main line. It now acts as a stop.
Step 4: wrap the main line tag fully around the leader four times, heading away from the stop knot.
Step 5: bring the main line tag back towards the stop knot to form a loop, and make four more turns inside that loop around the leader. This is a grinner knot.
Step 6: wet it and pull the main line tag so the coils start to close, but do not fully tighten yet.
Step 7: wet both knots again and slide the grinner slowly and evenly down until it butts against the stop knot. Yanking it quickly is the classic mistake. Then give all the ends firm, steady pulls and trim both tags very closely, so nothing catches your thumb or the rod rings during the cast.
How to tie a dropper loop for making rigs
The dropper loop puts a loop in the middle of a line that stands out at right angles, so a hook snood hangs clear of the main rig body. It is the basis of homemade paternoster and flapper rigs.
Step 1: make a loop about 10cm across at the point where you want the dropper.
Step 2: hold where the lines cross and twist the loop around itself about six times, so twists form on both sides of the crossing.
Step 3: open a gap in the middle of the twists and push the bottom of the loop up through it.
Step 4: hold the loop, wet the knot and pull steadily on both ends of the main line so the twists draw together. Holding the loop in your teeth works.
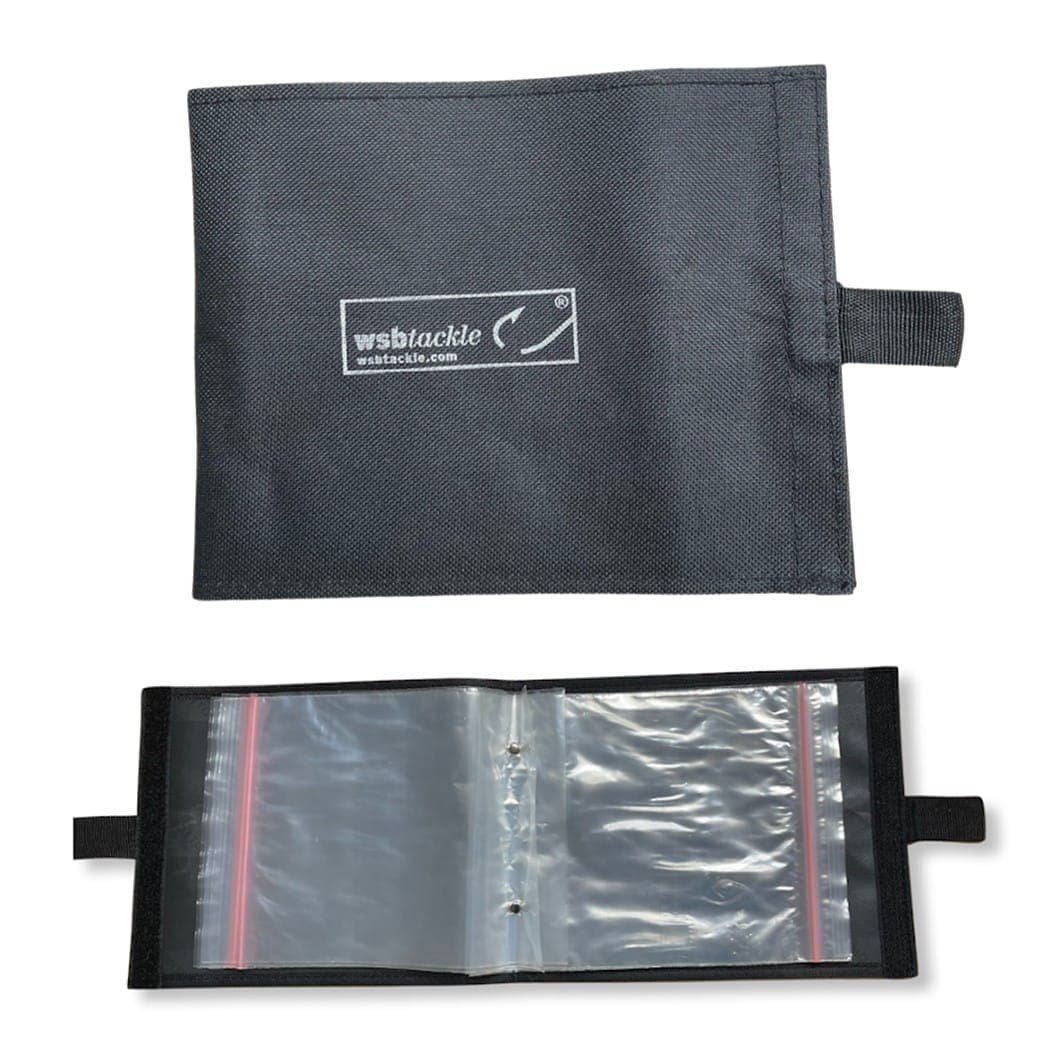
Keep the finished loop short to reduce tangling. You can loop a snood onto it, or cut one side to leave a single strand to tie a hook to. For joining two lines of equal diameter, such as sections of a tapered leader, the double blood knot is a small, neat option. A rig wallet keeps finished rigs straight and untangled.
Braid vs mono: what changes?
Braid is thinner for its strength, has almost no stretch and is very slippery. That makes knots that rely on friction, such as the clinch, more likely to slip. Use the palomar or a uni with extra wraps, and join braid to a mono or fluorocarbon leader with a double uni, giving the braid more turns.
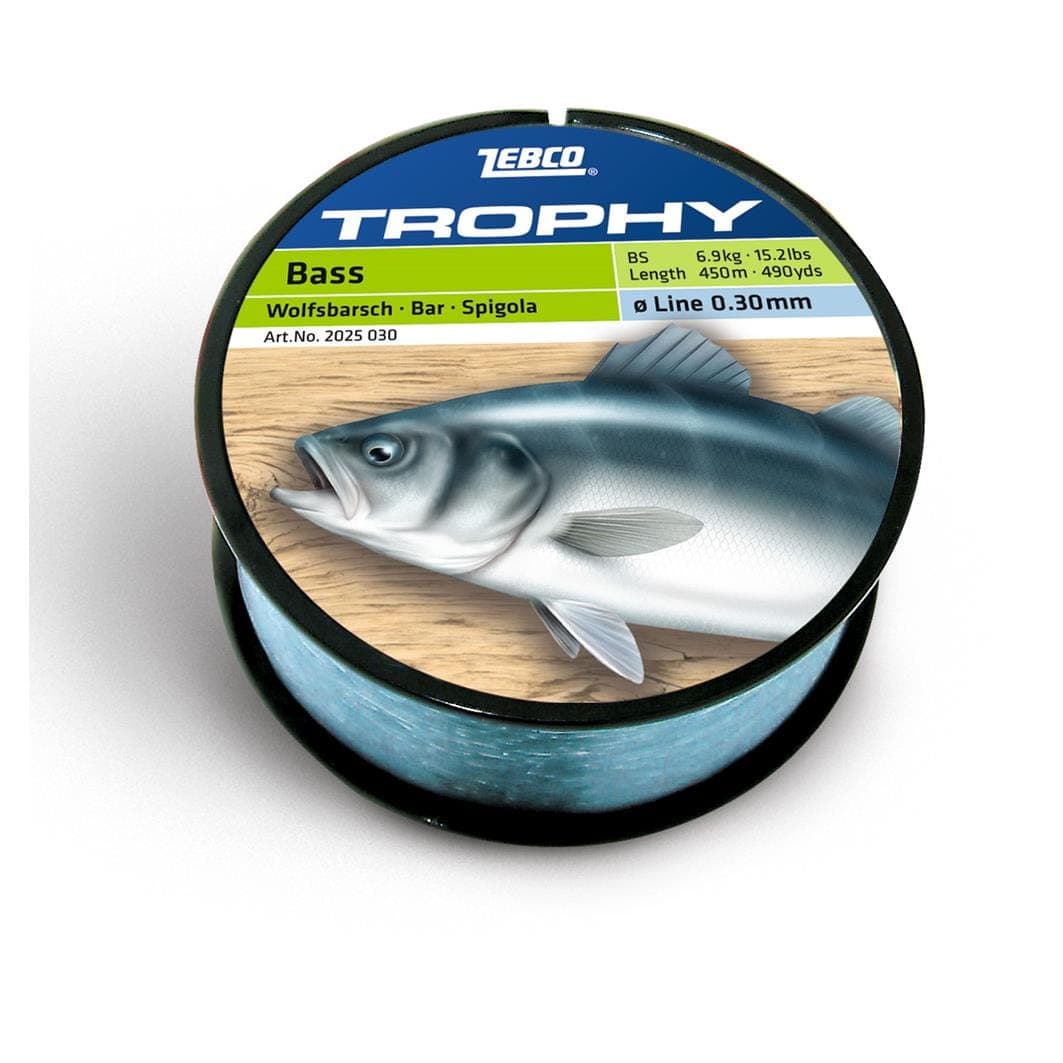
Mono stretches, which cushions the strain of a cast or a lunging fish, but it is more easily damaged by friction heat and abrasion on rocks. Wet every mono knot before tightening. When lure fishing for bass with braid, a few metres of mono or fluorocarbon leader also protects against rocks. Remember that bass under the 42cm minimum size in the MMO bass guidance must go back, so keep your knots tidy and unhooking quick. You can browse line in our lines and braid range.
How to seat, test and check a knot
Wet every knot with water or saliva before you pull it tight. Mono tightened dry heats up from friction, which weakens it. Then pull slowly and steadily, not in a quick jerk, and make sure the turns bed down neatly rather than crossing over each other. A badly seated knot often shows curly, kinked or whitened line just above it.
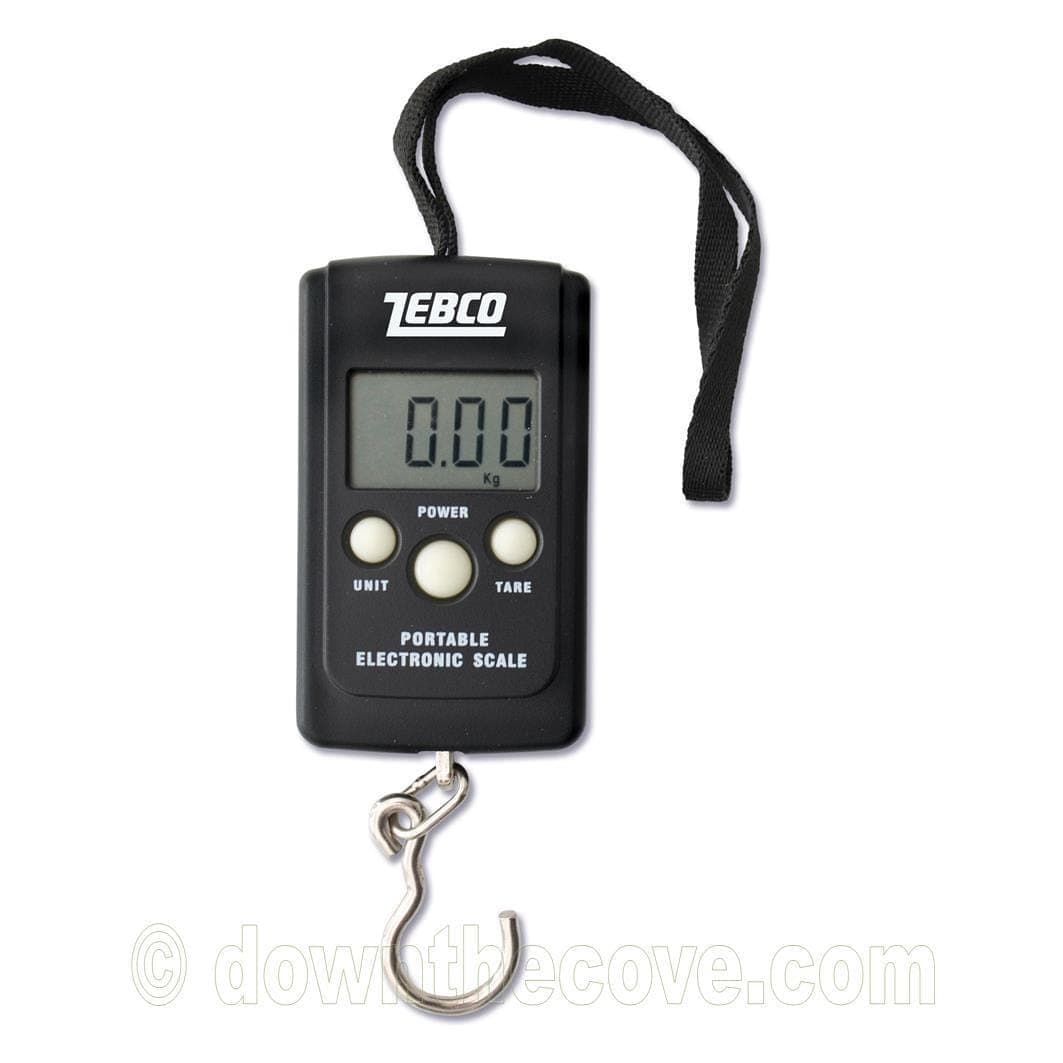
Test every knot before you fish with it. Hold the hook or swivel in a cloth or gloved hand and pull hard and steadily. If you want to know what it holds, hang it from a digital pocket scale and pull to a sensible target well below the line's breaking strain. A knot that fails at home is one less lost fish.
Retie after any big fish, after pulling free of a snag, or whenever the line above the knot feels rough. On rough ground, check your leader and knots every few casts. Our terminal tackle range covers the hooks, swivels and clips to tie on.
Common knot mistakes, and a quick checklist
The usual culprits are: tightening dry; too few turns, especially in braid; too many turns in thick line, which will not seat; trimming the tag too short so the knot creeps open; yanking knots closed; and leaving long tags on a shock leader knot that catch in the rod rings or cut your thumb.
Quick checklist: improved clinch for mono up to about 30lb; palomar for braid; uni for both; double uni for joining braid to mono; a shock leader of 10lb per ounce of lead for beach casting, joined with a shock leader knot; dropper loops for rigs. Wet, pull steadily, trim to 2 to 3mm, test, and retie when in doubt. Practise at home with old line until you can tie each one without thinking, then do it in the dark with a headlamp.